
Google 포토 서비스는 막강한 백업 기능과 공유 기능에 젖어 10여년 가까이 익숙해진 서비스였다.
2021.6월 유료화를 선언하고 거리감을 갖게 되었다.
대체할 오프소스 솔루션을 찾아 헤매다 Google 포토 대체 오픈소스 IMMICH라는 강력한 오픈소스를 찾았다.
이 서비스 기능을 소개 하고 Google 포토 대체 할 오픈소스 IMMICH 설치방법 을 알아보고자 한다.
Immich

자동백업
Immich는 Forground, Background 백업 기능을 제공한다.
특히 백그라운드 백업기능을 설정 해 놓으면 새로운 사진을 바로바로 자동 업로드 하는 기능이다.
이 기능은 핸드폰(아이폰, 안드로이드)에서 주로 사용 되며
자동 백그라운드 백업 기능은 WIFI만, 충전 중에 만 조건을 설정 할 수 있으며
데이터 요금 부담 또는 배터리 운영에 편리하게 사용 할 수 있다.
얼굴 인식
구글 포토의 막강한 기능이다. 과거 Immich 에서 제공하지 않아 아쉬웠는데 최근 업데이트로 추가 되었다.
- 인물별 분류 – 해당 인물의 대표 얼굴 사진 변경
- 생년월일 설정 – 사진 촬영 당시 나이 표시에 활용
- 얼굴 병합 – 여러 개 이상의 얼굴을 한 사람으로 병합
- 얼굴 숨기기 – 지인 또는 친구 얼굴만 관리 하고 싶을 때 타 얼굴에 대해 숨기기 또는 보이기 토글 설정 가능
다양한 모바일 지원
반응형 애플리케이션으로 만들어 다양한 디바이스를 지원합니다.(안드로이드/아이폰/아이패드/웹사이트)
다양한 immich 특징들을 링크를 통해 자세히 확인 할 수 있다.
설치

아래 docker-compose.yml은 github에 docker-compose로 설치하는 파일을 찾을 수 있다.
# You can find documentation for all the supported env variables at https://immich.app/docs/install/environment-variables

# The location where your uploaded files are stored
UPLOAD_LOCATION=/mnt/hdd/immich_data
# The location where your database files are stored
DB_DATA_LOCATION=./postgres

# The Immich version to use. You can pin this to a specific version like "v1.71.0"
IMMICH_VERSION=release

# Connection secret for postgres. You should change it to a random password
DB_PASSWORD=postgres

# The values below this line do not need to be changed
###################################################################################
DB_HOSTNAME=immich_postgres
DB_USERNAME=postgres
DB_DATABASE_NAME=immich

REDIS_HOSTNAME=immich_redis

IMMICH_SERVER_URL=http://xxx.blog.eomeo.net
위 파일은 .env파일이다.
.env 파일과 함께 yaml파일은 docker-compose 를 통한 간단히 컨테이너 기반 서비스는 immich가 강력한 오픈소스가 되게 한다.
version: '2'
#
# WARNING: Make sure to use the docker-compose.yml of the current release:
#
# https://github.com/immich-app/immich/releases/latest/download/docker-compose.yml
#
# The compose file on main may not be compatible with the latest release.
#

#name: immich

services:
  immich-server:
    container_name: immich_server
    image: ghcr.io/immich-app/immich-server:${IMMICH_VERSION:-release}
    command: ['start.sh', 'immich']
    volumes:
      - ${UPLOAD_LOCATION}:/usr/src/app/upload
      - /etc/localtime:/etc/localtime:ro
    env_file:
      - .env
    ports:
      - 2283:3001
    depends_on:
      - redis
      - database
    restart: always

  immich-microservices:
    container_name: immich_microservices
    image: ghcr.io/immich-app/immich-server:${IMMICH_VERSION:-release}
    # extends: # uncomment this section for hardware acceleration - see https://immich.app/docs/features/hardware-transcoding
    #   file: hwaccel.transcoding.yml
    #   service: cpu # set to one of [nvenc, quicksync, rkmpp, vaapi, vaapi-wsl] for accelerated transcoding
    command: ['start.sh', 'microservices']
    volumes:
      - ${UPLOAD_LOCATION}:/usr/src/app/upload
      - /etc/localtime:/etc/localtime:ro
    env_file:
      - .env
    depends_on:
      - redis
      - database
    restart: always

  immich-machine-learning:
    container_name: immich_machine_learning
    # For hardware acceleration, add one of -[armnn, cuda, openvino] to the image tag.
    # Example tag: ${IMMICH_VERSION:-release}-cuda
    image: ghcr.io/immich-app/immich-machine-learning:${IMMICH_VERSION:-release}
    # extends: # uncomment this section for hardware acceleration - see https://immich.app/docs/features/ml-hardware-acceleration
    #   file: hwaccel.ml.yml
    #   service: cpu # set to one of [armnn, cuda, openvino, openvino-wsl] for accelerated inference - use the `-wsl` version for WSL2 where applicable
    volumes:
      - model-cache:/cache
    env_file:
      - .env
    restart: always

  redis:
    container_name: immich_redis
    image: registry.hub.docker.com/library/redis:6.2-alpine@sha256:84882e87b54734154586e5f8abd4dce69fe7311315e2fc6d67c29614c8de2672
    restart: always

  database:
    container_name: immich_postgres
    image: registry.hub.docker.com/tensorchord/pgvecto-rs:pg14-v0.2.0@sha256:90724186f0a3517cf6914295b5ab410db9ce23190a2d9d0b9dd6463e3fa298f0
    environment:
      POSTGRES_PASSWORD: ${DB_PASSWORD}
      POSTGRES_USER: ${DB_USERNAME}
      POSTGRES_DB: ${DB_DATABASE_NAME}
    volumes:
      - ${DB_DATA_LOCATION}:/var/lib/postgresql/data
    restart: always

volumes:
  model-cache:
실행 및 운영 방법
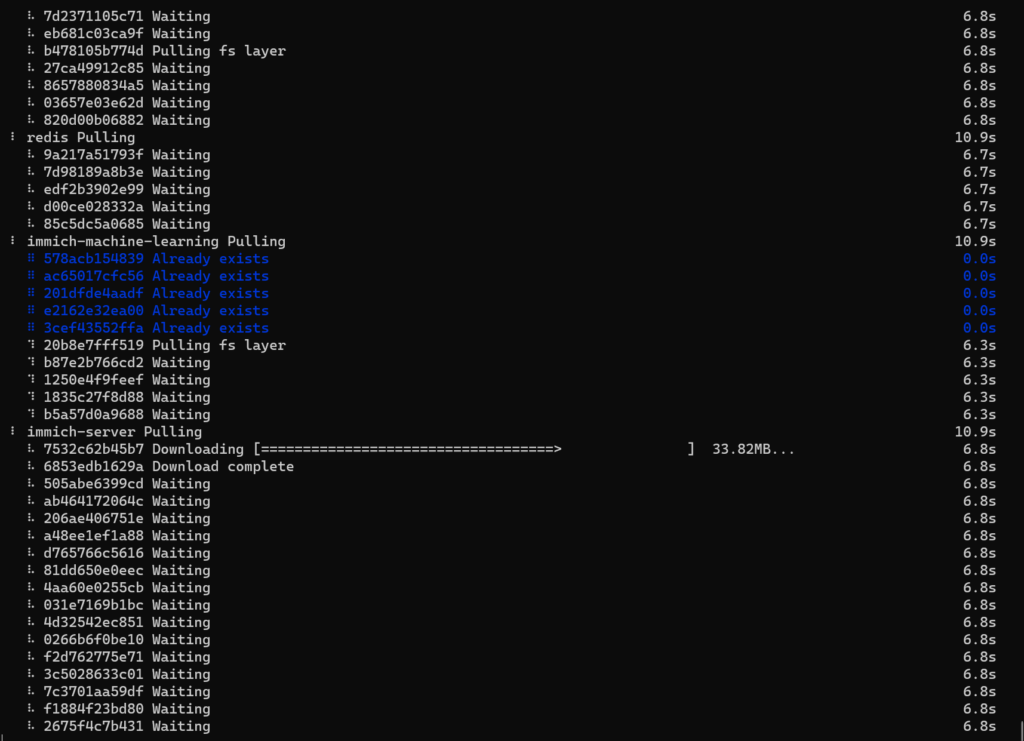
설치 실행 방법은 간단하다. docker-compose.yml파일과 같은 디렉토리에서 아래와 같이 입력하면 된다.
docker compose up -d
서비스 종료 및 삭제 방법은 다음과 같다.
docker-compose의 일반적인 방법으로
서비스 종료를 위해서는 ‘sudo docker compose stop’,
서비스 삭제를 위해서는 ‘sudo docker compose down’이다.

댓글은 닫혔습니다.